
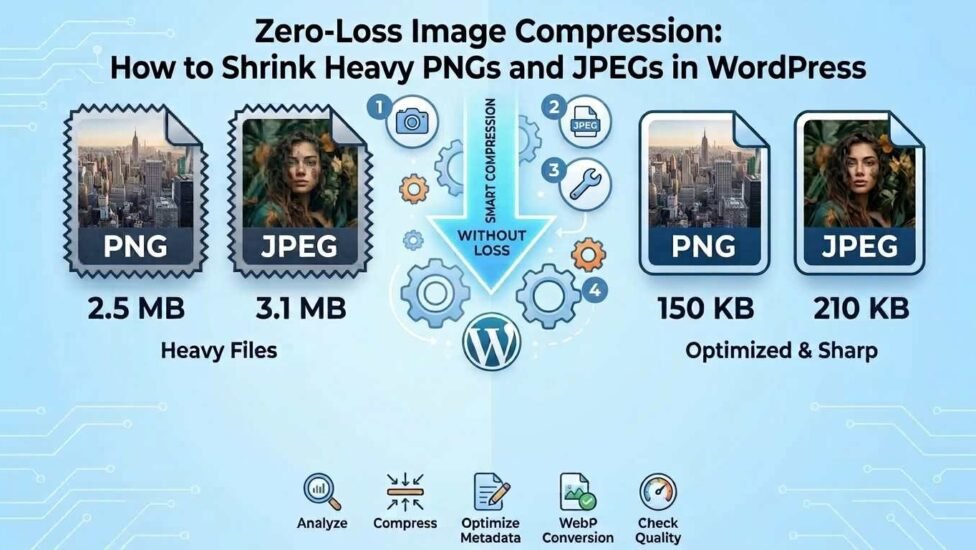
High-resolution imagery transforms a standard blog post into a visually engaging experience. However, unoptimized image files remain one of the primary culprits behind sluggish website performance, elevated bounce rates, and reduced organic search rankings. When oversized JPEGs and PNGs overload your server, visitors leave before your content even renders.
Optimizing web media requires a balance between reducing file size and maintaining visual fidelity. This guide breaks down actionable techniques to compress heavy images for WordPress without sacrificing quality.
The Hidden Cost of Heavy Images on WordPress Load Speeds
When a user requests a webpage, the browser must download every embedded element before rendering the full layout. Heavy image files consume significant server bandwidth and delay critical performance metrics like Largest Contentful Paint (LCP).
By implementing pre-upload compression and modern media handling techniques, you reduce page payload size, improve core web vitals, and deliver a seamless browsing experience.
PNG vs. JPEG: Choosing the Right Format Before Uploading
Selecting the appropriate file type before creating media assets is the first step toward efficient optimization:
-
JPEG (Joint Photographic Experts Group): Best for complex photographs, illustrations, and detailed imagery with full color spectrums. JPEGs support lossy compression, allowing you to significantly decrease file size with minimal noticeable loss in quality.
-
PNG (Portable Network Graphics): Ideal for graphics requiring transparent backgrounds, sharp line art, screenshots, and text overlays. PNGs use lossless compression, preserving crisp details at the expense of larger file sizes.
Step-by-Step Desktop Pre-Compression: Shrinking Files Before Upload
Relying solely on WordPress plugins to handle image optimization puts unnecessary processing overhead on your web host. Pre-compressing files on your local desktop ensures that oversized media never hits your server’s upload directory.
Best Free Tools for Lossless Local Compression
Local optimization tools allow you to strip unneeded data from image files prior to publishing:
-
TinyPNG / TinyJPG: A web-based tool that uses smart lossy compression techniques to selectively decrease colors in PNG and JPEG files.
-
ImageOptim: A dedicated desktop utility for Mac users that removes embedded EXIF metadata, camera settings, and color profiles without altering pixel dimensions.
-
Squoosh: An open-source web application developed by Google that lets you visually compare side-by-side compression levels in real time.
Adjusting Quality Sliders Without Visible Pixelation
When saving JPEGs in design software like Photoshop, Figma, or Canva, target a quality threshold between 75% and 80%. This sweet spot drastically reduces file weight while keeping visual compression artifacts invisible to the human eye on standard displays.
Automated In-WordPress Optimization: Best Plugins for Auto-Resizing
While local prep is ideal, automated WordPress plugins act as a reliable safety net for site owners and multi-author editorial teams.
Offloading Compression Workloads to External Cloud APIs
Installing heavy compression scripts directly on your server can exhaust PHP memory limits during bulk image processing. Modern optimization plugins solve this by offloading processing tasks to external cloud servers via API calls.
Top plugins like ShortPixel, Smush, and Imagify receive your uploaded media, compress it on external infrastructure, and return lightweight files back to your media library.
Enabling Next-Gen Image Formats (WebP & AVIF) Automatically
Modern web browsers natively support advanced image containers like WebP and AVIF. These next-generation formats deliver smaller file footprints compared to traditional PNG and JPEG formats at equivalent visual quality.
To learn how next-generation formats reduce network payload sizes and improve rendering speeds, explore Mozilla’s Web Developer Guide on Image Formats .
Advanced Server-Level Media Handling
Leveraging Native WordPress Lazy Loading
Since WordPress 5.5, native lazy loading is enabled by default for all content images using the loading="lazy" attribute. This feature instructs the user’s browser to defer downloading images until they are scrolled into the active viewport, conserving initial bandwidth.
CDN Offloading: Serving Compressed Images via Global Edge Networks
Content Delivery Networks (CDNs) cache your static media assets across global edge servers. Instead of pulling heavy JPEGs directly from your origin host, visitors download images from the closest geographic data center.
To learn how edge networks process and deliver media efficiently, explore Cloudflare’s Web Image Optimization Guide.
Quick 4-Step Checklist for Lightweight WordPress Media Libraries
Follow this operational routine whenever adding new visuals to your posts:
-
Resize Dimensions: Scale images to match your theme’s maximum display width (e.g., 1200px wide for standard content areas) rather than uploading 4K camera raw files.
-
Compress Locally: Run images through desktop compression tools before uploading to WordPress.
-
Serve WebP Formats: Utilize an optimization plugin to automatically convert uploads into WebP or AVIF formats.
-
Audit Media Library: Periodically clean up unused uploaded files and regenerate thumbnails to free up server disk space.
Frequently Asked Questions (FAQs)
Does converting PNGs to WebP degrade visual quality?
WebP supports both lossy and lossless compression modes. When converting high-quality PNGs to WebP, the visual clarity remains virtually identical, while achieving file size reductions of up to 25% to 34% compared to standard PNG assets.
Should I delete original JPEG files after compressing them?
It is recommended to retain uncompressed original copies on your local backup storage or cloud drive. If you ever redesign your website or require higher-resolution prints in the future, you will have the raw source files readily available.
Conclusion
Optimizing heavy PNG and JPEG images does not require sacrificing visual appeal. By combining local pre-upload scaling, proper format selection, and automated cloud compression plugins, you can dramatically shrink media file sizes. Implementing these image optimization workflows ensures your WordPress site stays fast, satisfies search engine core web vitals, and keeps visitors engaged.
Related post: Understanding Digital Marketing: Why Online Ads Dominate Offline Signboards