
AI video tools are evolving rapidly, yet many creators face a common hurdle: most platforms only generate short 4-to-10-second clips. Trying to string these brief snippets into a coherent narrative often leads to wasted time, inconsistent visuals, and exhausted credits.
This is where Grok stands out. Beyond basic generation, Grok excels as an AI video planner, helping you outline, structure, and assemble longer cinematic stories seamlessly.
The Core Challenge with Short AI Video Tools
Most AI video generators create short clips that struggle to maintain visual continuity across multiple scenes. If the AI misinterprets your prompt, you end up regenerating content repeatedly—rapidly consuming daily usage credits.
For instance, platforms like Google Flow offer solid video generation capabilities but operate under strict daily credit caps (around 50 credits/day). A few failed generation attempts can easily burn through your daily limit, yielding only one or two usable scenes.
Grok solves this issue by letting you structure the entire narrative before rendering a single frame.
Step-by-Step: The Grok AI Video Workflow
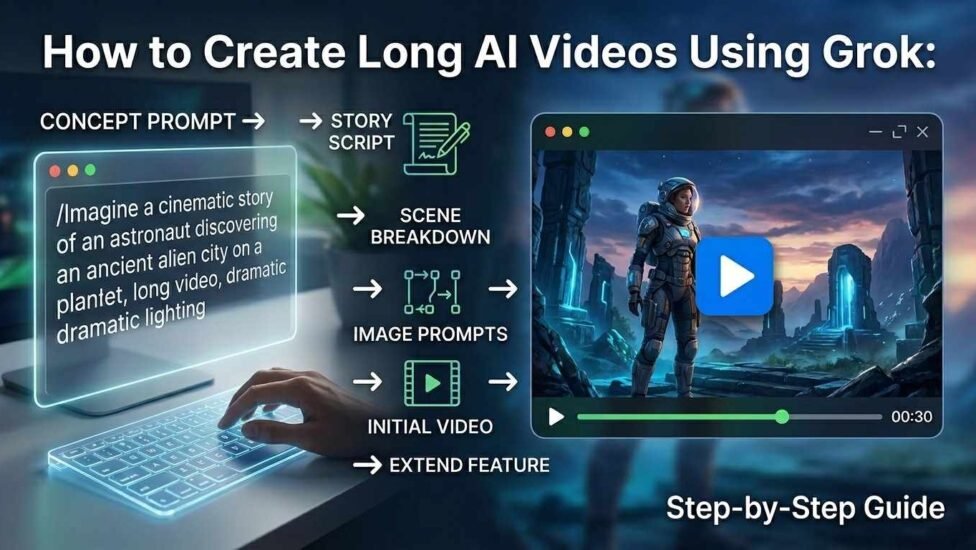
Instead of rushing directly into video generation, follow this organized 6-step framework:

1. Draft a Concept Prompt
Start with a detailed prompt that defines your storyline, characters, environment, and overall mood.
Example Prompt Strategy:
Request a 30-second storyline with exactly two main characters moving through a dense, atmospheric forest at twilight. Emphasize visual actions and subtle narrative tension while avoiding sudden scene or character changes.
2. Generate and Review the Story
Before generating visuals, allow Grok to construct the story script. Reviewing the narrative first ensures the arc aligns with your vision before spending time on image or video creation.
3. Divide the Story into Timed Scenes
Once the script is finalized, ask Grok to segment it into precise time blocks. For a 30-second short film, request a 6-scene breakdown:
-
Scene 1: 5 Seconds (Setup & Atmosphere)
-
Scene 2: 5 Seconds (Character Action)
-
Scene 3: 5 Seconds (Rising Tension)
-
Scene 4: 5 Seconds (Key Discovery/Reveal)
-
Scene 5: 5 Seconds (Climax/Resolution Action)
-
Scene 6: 5 Seconds (Final Resolution)
4. Extract Detailed Image Prompts
Ask Grok for keyframe image prompts for each scene. These prompts should detail character appearance, background elements, lighting, and camera angles to maintain visual continuity.
5. Generate the Opening Scene
Input your Scene 1 image prompt to create the initial keyframe, then generate your first 5-second video clip.
6. Chain Scenes Using “Extend Video”
To stitch your story into a continuous long-form video:
-
Open your completed Scene 1 video.
-
Select the Extend Video option (found under the video settings menu).
-
Insert the prompt tailored for Scene 2.
-
Repeat this extension process sequentially for Scenes 3 through 6.
Why Planning with Grok Delivers Better Results
By organizing story structure, scene timing, and visual continuity prior to generation, you eliminate trial-and-error prompt tweaking. Grok transforms what is usually a chaotic rendering process into a predictable, structured workflow for long-form AI storytelling.
Conclusion
Creating long, high-quality AI videos doesn’t have to be a trial-and-error game that drains your credits and patience. By using Grok as a dedicated planning assistant before generating any media, you gain total control over narrative pacing, character consistency, and visual flow. Combining a solid scene-by-scene script with Grok’s native “Extend Video” feature allows you to produce polished, long-form AI stories quickly and efficiently.
Related post: The Free AI Video Blueprint